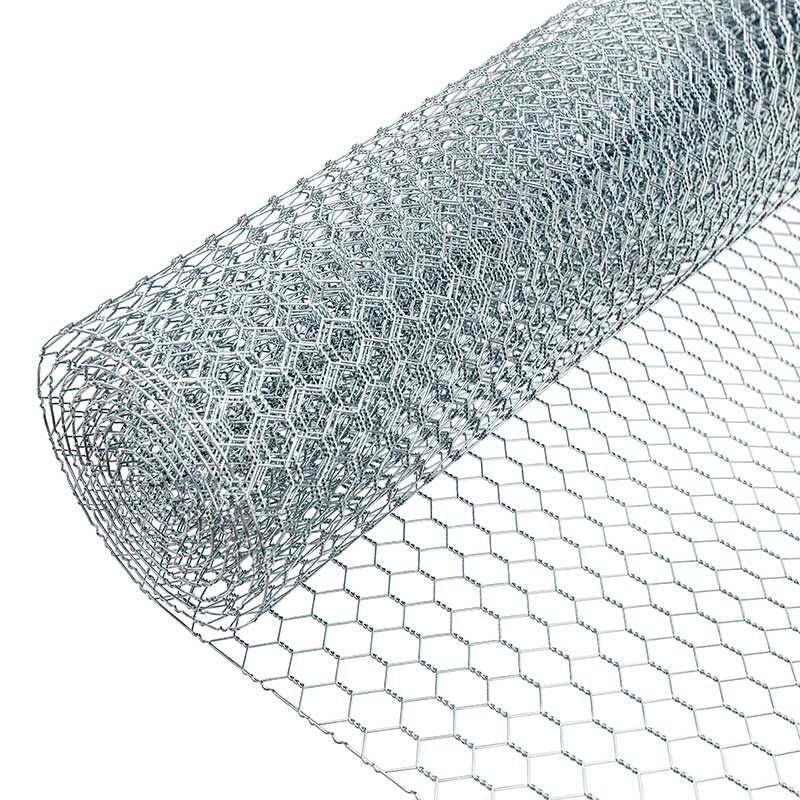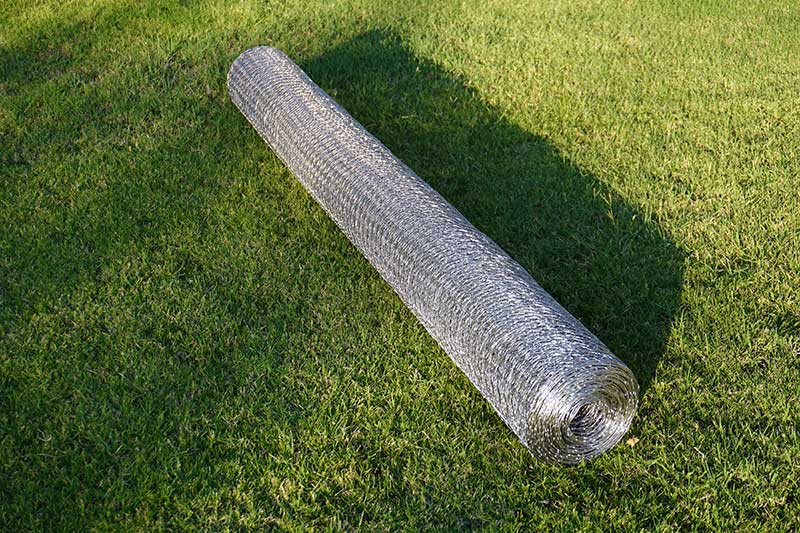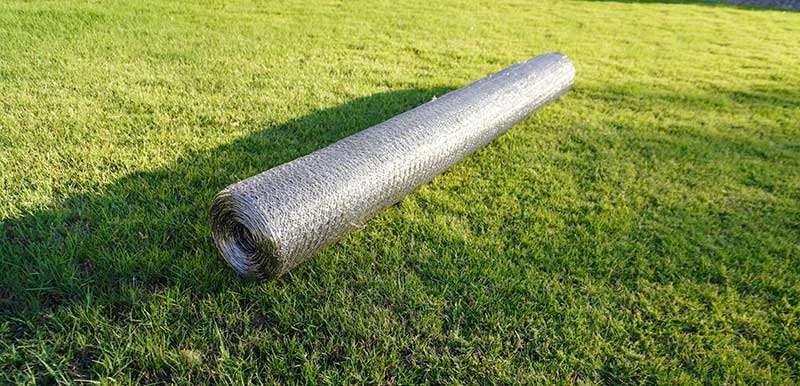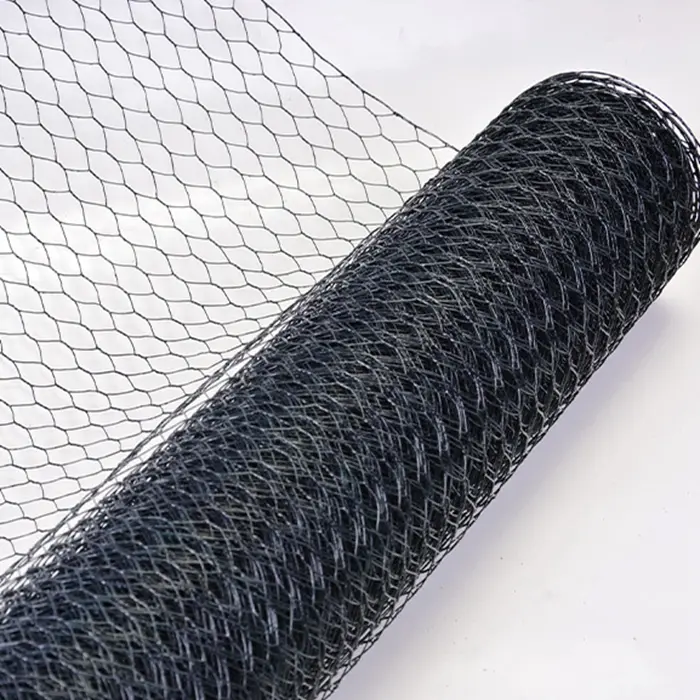
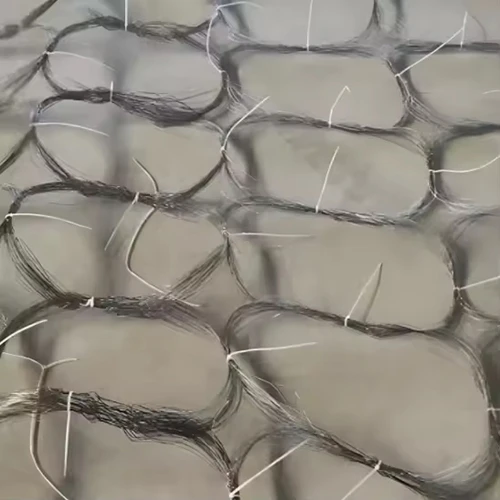

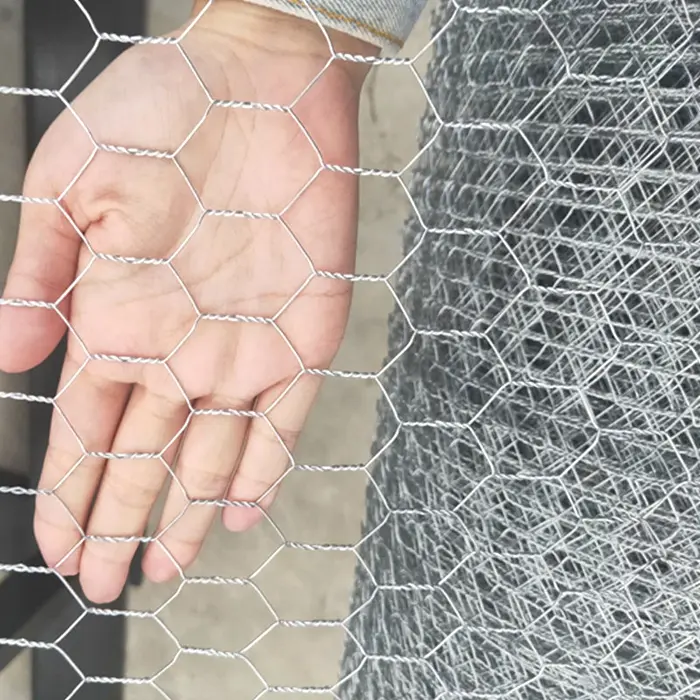


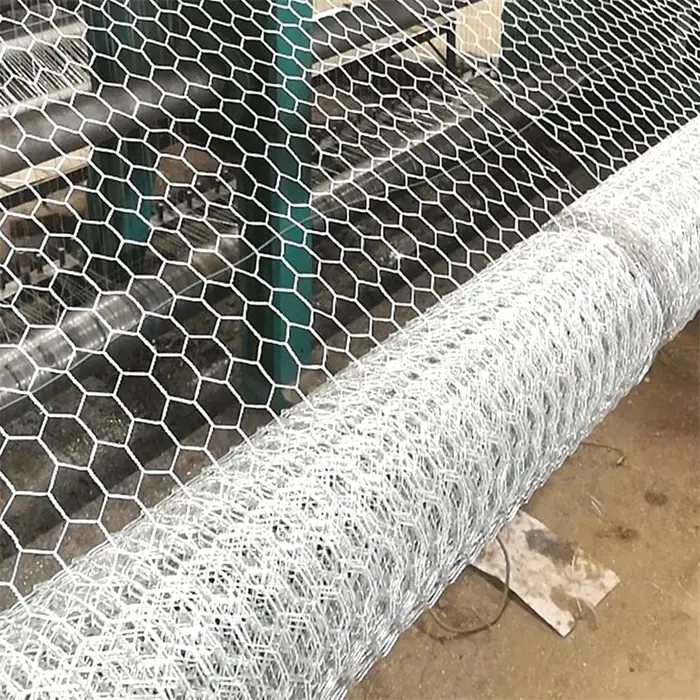


Galvanized Chicken Wire

Galvanized Chicken Wire
$307.09
FREE SHIPPING
✅ Estimated Order Delivery Date: Jan 22 - Jan 23.
SKU MM-x5100
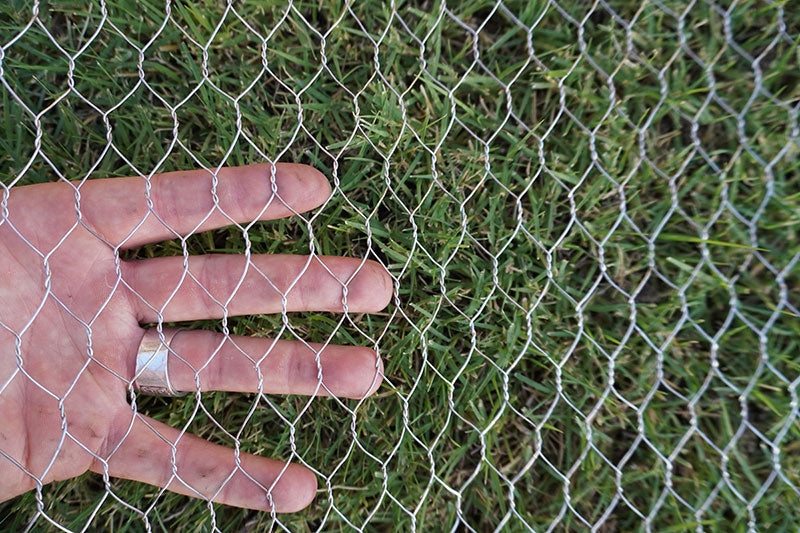
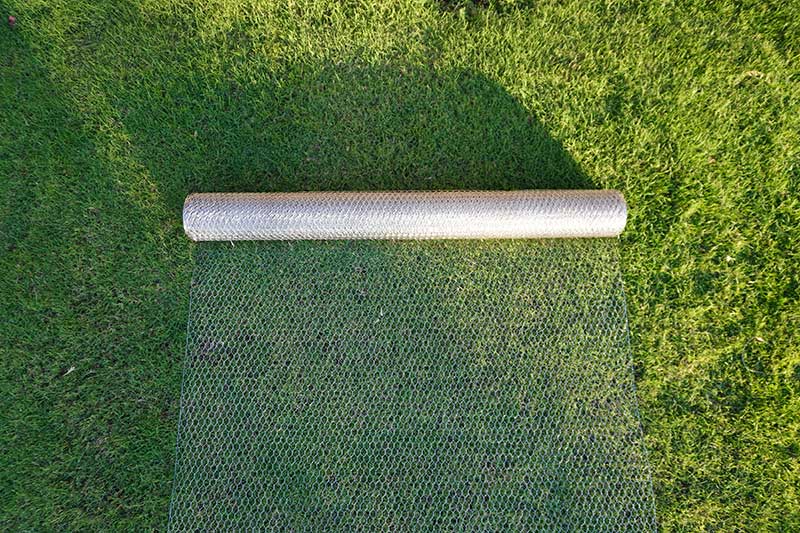
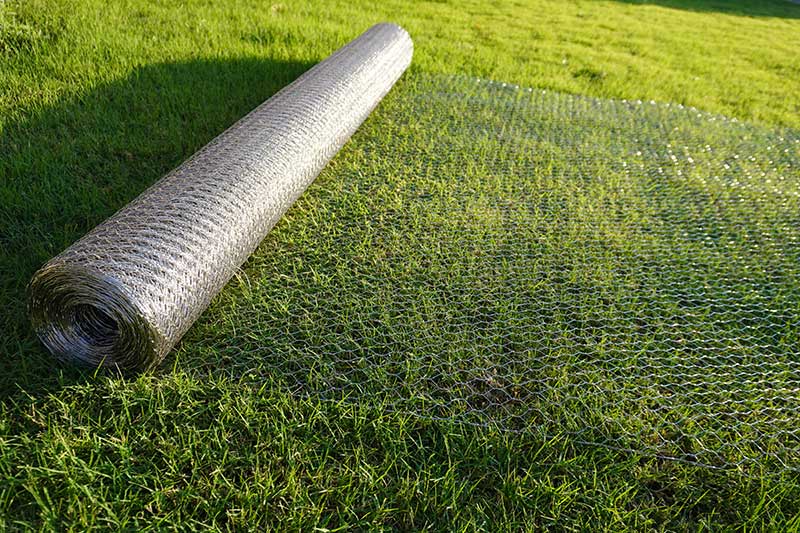
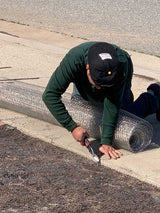
Our Galvanized Chicken Wire is a heavy duty wire that is made to last 6-10 years due to the specific manufacturing process used. The wire is double galvanized which helps it to resist breakdown and corrosion. This 20 gauge wire provides a great balance between strength and flexibility. It can be used both above and below ground. The wire has 3/4" openings and comes in a roll size of 5' x 100'.
The galvanized chicken wire ships from Northern CA.
FREE SHIPPING
Free Shipping - Please submit a Quote Request for quantities larger than listed below.
| Minimum Qty | Price Per Unit (Free Shipping) |
|---|---|
| 1+ | $307.09 |
| 2+ | $291.74 |
| 3+ | $277.15 |
| 5+ | $263.29 |
| 10+ | $250.13 |
| 20+ | $237.62 |