


EUR
en
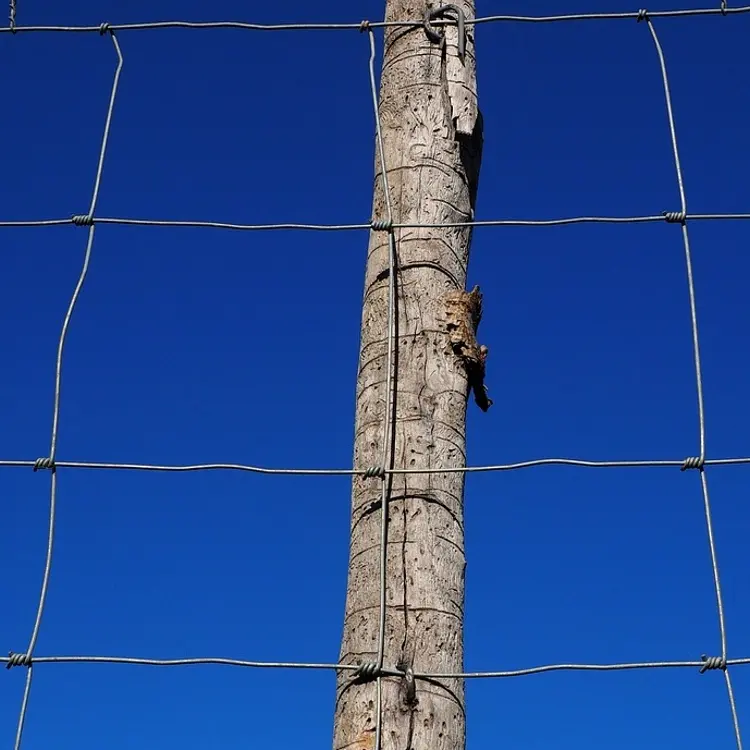
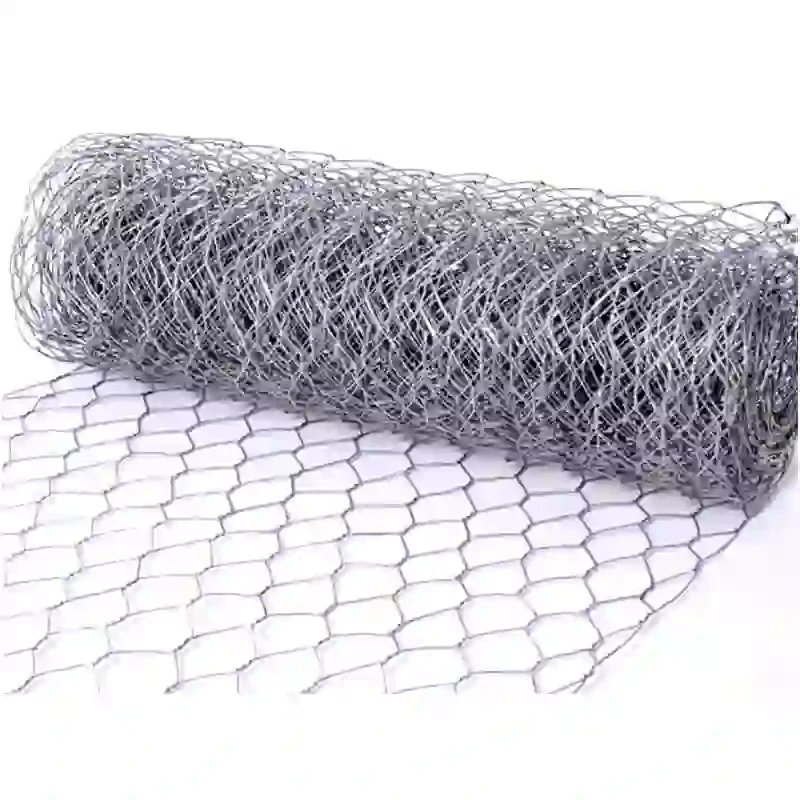
Our Galvanized Chicken Wire is a heavy duty wire that is made to last 6-10 years due to the specific manufacturing process used. The wire is double galvanized which helps it to resist breakdown and corrosion. This 20 gauge wire provides a great balance between strength and flexibility. It can be used both above and below ground. The wire has 3/4" openings and comes in a roll size of 5' x 100'. The galvanized chicken wire ships from Northern CA.
Brand: Digger's
Material Type: Double Galvanized Steel
Size: 5' x 100'
Wire Gauge: 20
Mesh Opening: 3/4" Hexagonal
Estimated Material Lifespan: 6-10+ Years
Strong: Constructed from heavy-duty double-galvanized steel.
Permeable:Allows for water to pass through for grass and plant roots
Blocks Mature Gophers:Blocks fully grown gophers from passing through
Blocks Young Gophers: Blocks young and developing gophers from passing trough
Rot Resistant:The double-galvanized steel mesh provides high resistance against underground rotting
Allows Plant Growth: The 3/4" mesh size will not choke roots allowing for your plants to grow
Allows Lawn Root Growth: Healthy lawn growth is not effected due to the 3/4" mesh size
Designed Specifically for Gophers:Not just "fancy chicken wire", Digger's Gopher Wire is designed specifically for protection from gophers
The installation of Digger's Gopher Wire in a lawn area can be accomplished by either a landscape contractor or the homeowner. Follow the below installation instructions for optimal gopher protection in a lawn area:
Sod Layer: If installing sod, the sod has an attached soil layer.
Soil Over Wire:1” to 1-1/2” of soil should cover the wire prior to adding sod.
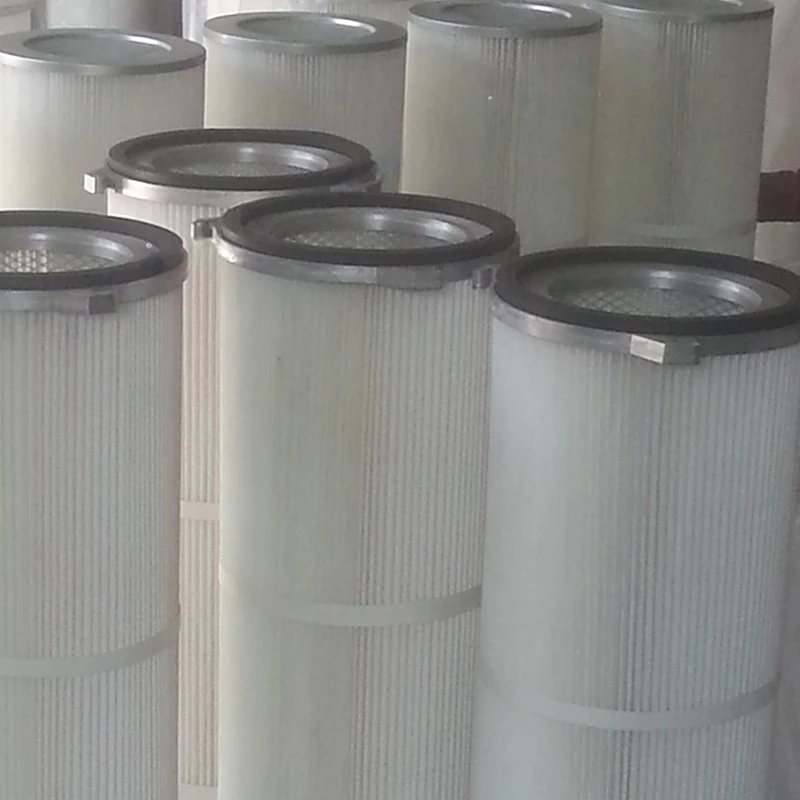
Gopher Wire: Provides protection against gopher intrusion.
Existing Soil:This is the soil below your installation area
Digger's Gopher Wire is stocked and ships from Northern California. Orders typically ship same day if placed before 9 AM Pacific Time. Shipping is free and most west coast customers experience delivery within two business days of ordering.
Transit Time
Gopher wire orders typically ship within one business day of order placement. Smaller orders of a few rolls ship via UPS / Fedex while larger orders ship by LTL freight. If your order ship via LTL freight the delivery company will contact you prior to delivery to arrange a delivery window that works with your schedule.Transit times on the map above are shown in business days and exclude weekends and holidays.
Remove any rocks and debris from the desired installation area. Next, level out the installation area as much as possible. (The area can slope, but for ease of installation, try to make it an even plane as much as possible)
Using a lawn roller, (can be rented from a local hardware store) smooth out the area. The end result will be a compacted surface which will be ideal for laying the gopher wire.
Unroll the wire and using ground staples, stake the ends of the wire together. To ensure that the wire lays flat, stretch the wire slightly.
When placing the wire side-by-side be sure to overlap a minimum of 3”. Note: Do not simply butt the ends up, over time this can create a small gap where a gopher could potentially penetrate and squeeze through the wire.
To ensure that the wire stays in place, use ground staples to secure the wire to the ground every 18” on the perimeter and overlapping areas. The wire can be cut using standard wire cutters or sharp garden sheers to fit the area.
If installing a boarder with the gopher wire, be sure to fold the wire up and then affix to the boarder. This will ensure that a hidden gap is not created on the edge where a gopher could squeeze through. It is a good idea to physically attach the wire to the edging if possible using staples. This will help the wire to stay in place regardless of future minor earth movements or swelling that may take place.
Next, add soil to the installation area. Spread an equal amount of soil covering the wire under an equal depth of 1” - 1-1/2”. After spreading, use a lawn roller again to even out and compact the soil on top of the wire.
Next lay the sod on top of the area. When rolling the sod out, be careful when walking on the compacted, smoothed out soil. Be careful not to significantly disturb the compacted soil, exposing the wire.
With gopher wire installed, your lawn area will now be protected against gopher damage and intrusion in the future.
It is essential that all of the gopher wire makes complete contact with the soil. In any areas where the wire is “bubbled” or pushes away from the soil, use extra ground staples to secure it to the ground.
It is ok to walk on the wire directly when installing. It is not a good idea to drive a machine on the bare gopher wire as the turning wheels or tracts can easily rip up the wire.
Although gopher wire is not specifically designed to prevent mole intrusion, we have had customers that have installed it for this application and the gopher wire has proved effective at deterring moles from tunneling into landscape and lawn areas.
"After tilling and clearing the loam from our yard, I installed the gopher wire roll. I then applied another 6 inches of topsoil/compost and then laid 1,800 square feet of zeon zoysia sod. The gopher wire roll is an incredible product and in my mind worth every penny. I have already seen the results. There is an adjacent section where our yard meets the neighbors yard. Given the frequent watering/worms, etc. our yard has become an attractive site for moles. Well, our yard has been perfectly protected from the moles, and our neighbors yard is full of new holes and tunnels. They just cannot seem to penetrate the wire roll. The quality is also impressive. Does not even compare to the junk available at “unnamed big box” hardware store (trust me, I looked!) Anyway, here are several photos of the installation process and the final product. "
Colin R.
Austin, TX
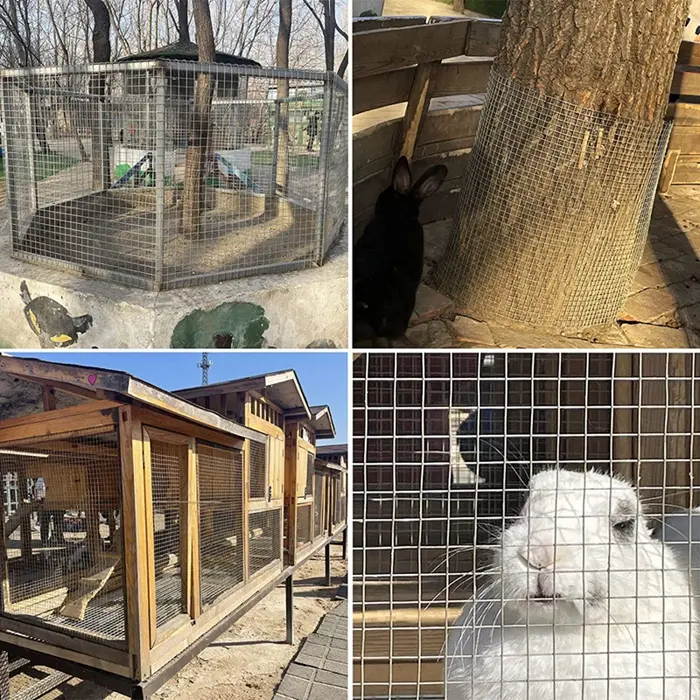
If you can't wait to dive into DIY projects, you will find that chicken wire fencing has a lot of advantages over other fence materials including wood, metal, vinyl, and PVC materials due to its low cost and it's very easy to install on your own. These fences are excellent for keeping wild predators like raccoons out Chicken wire fences are better than wooden fences or chain link fences because they go underground and will keep animals from digging underneath to gain access to the pen. Also, a chicken wire fence will give you great curb appeal.
• Post hole digger
• Shovel
• Sledgehammer or post-driver
• Level
• Heavy-duty stapler
• Framing nails
• Wire cutters
• Hammer
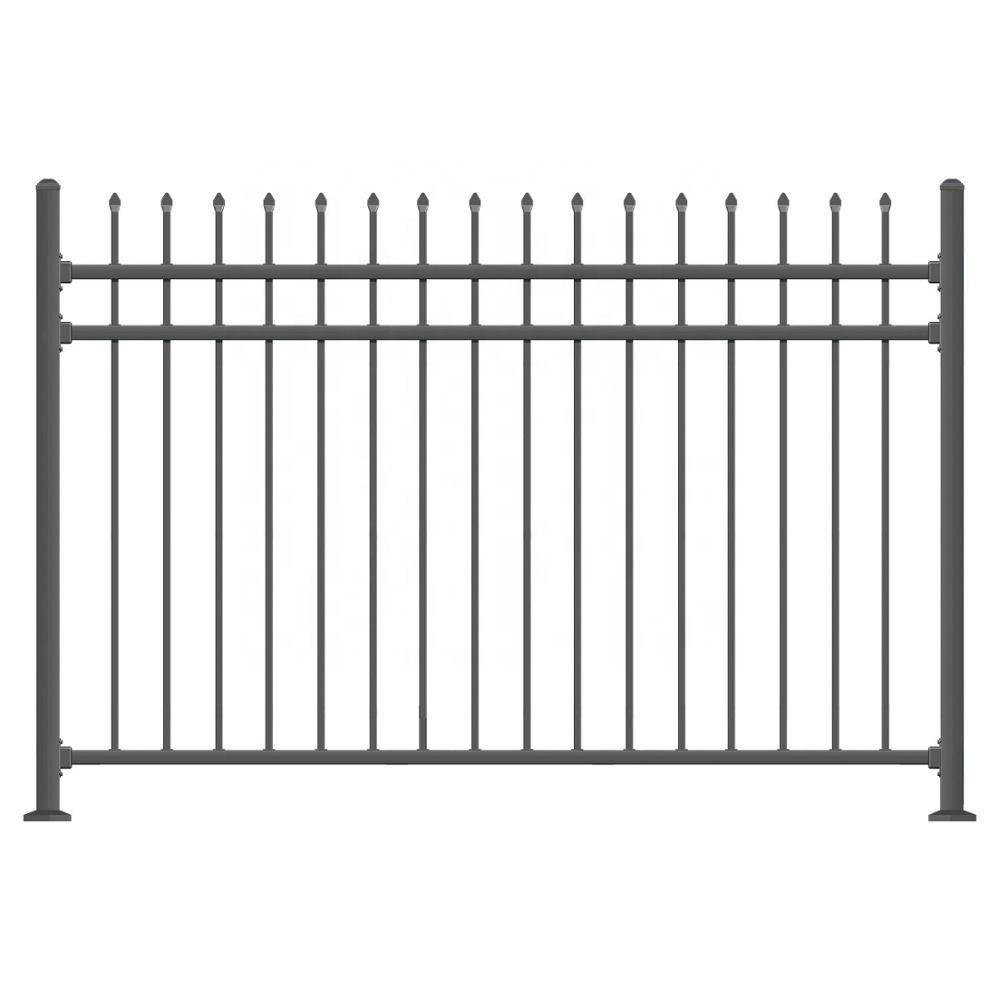
• Metal or wooden posts
• Spray paint or stakes and twine
• Framing lumber - 2x3’s, 2x4’s, or 2x6’s cut to length
• Chicken wire mesh
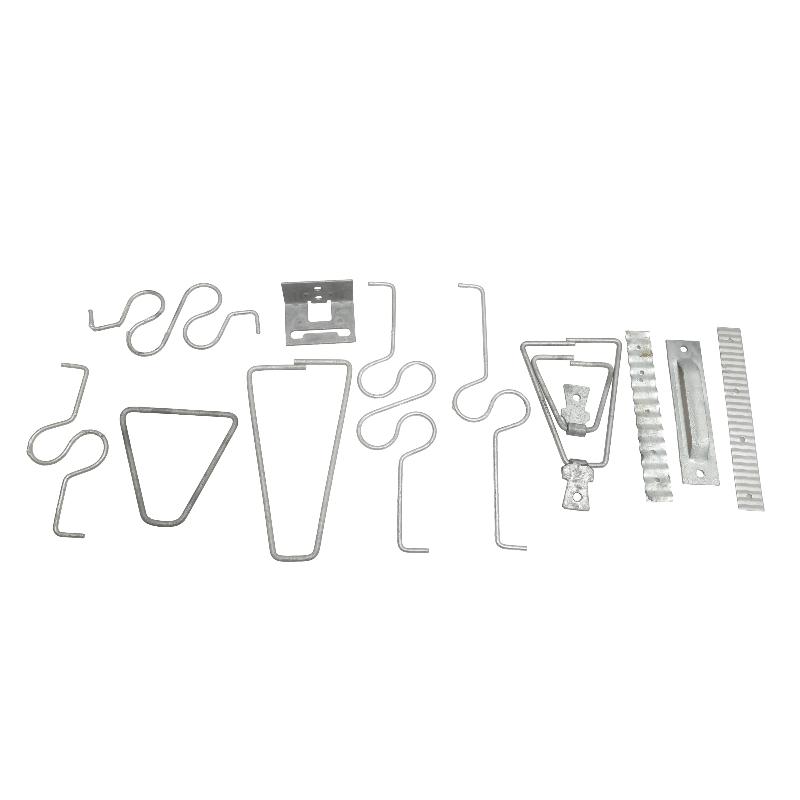
• Poultry staples
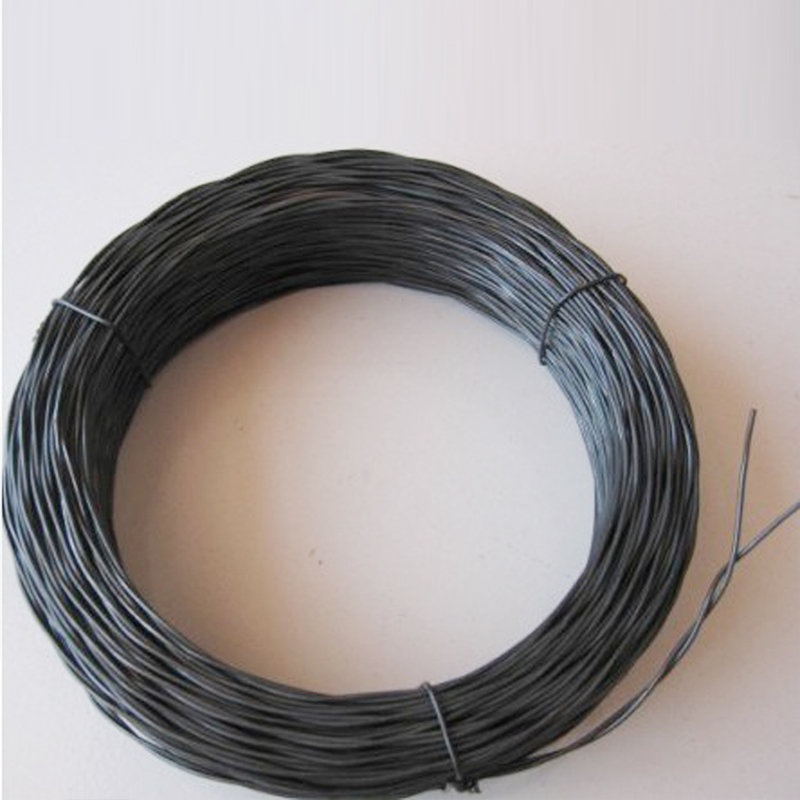
• Zip ties
Now that you have your tools and materials, it's time to build a chicken wire fence or a garden fence. The following instructions will explain the steps for installing the fenceOutline the area of the fence using spray paint or the stakes and twine. Make sure the path is precisely marked so you can build the fence accurately.
When you are ready to install the posts, you have two options. Wooden or metal posts are known as U -Posts and T- Posts. You have to build a frame with framing lumber to attach to the posts once they are in place. If you want wooden posts, you have to add top and bottom rails after the posts are in place. For T or U posts, you need a sledgehammer to drive them in place. For wooden posts, you need a post-hole digger or shovel to create the holes and then place the posts in the holes. Install the posts in the spots you measured ahead of time as discussed in Step One. Make sure the holes are at least 6 inches deep. You can use dirt to fill the holes, you do not need concrete. Each post should be spaced evenly and not more than 10 feet apart.
This is for chicken wire fences to keep chickens or other small animals safe. This is where trenches come into play. Some animals will try to dig under the fence. The trench should go all the way around the path of the chicken fence and should be one foot deep between the posts. Start working on the wooden frame to outline each section of the chicken wire fence. Lay out the framing lumber and then use the hammer and nails to construct the lumber and should be the same size as the area between the posts. The frame should be measured and built so its bottom edge will fit in the one-foot trench you created. If a trench is not needed, the wooden frame has to be measured in order to fit the distance between the posts but not make it taller because there won't be a trench.
Once the posts are in place and the trenches dug, you can stop by Home Depot or go to Amazon online to find out how many staples you are going to need. In the meantime, you can temporarily use zip ties to attach the wire mesh to the posts until you get the staples.
If you are creating a fence to keep chickens safe versus a structure for your yard or garden, the depth is critical to keep wildlife from digging underground. Once you have outlined the path of the fence and installed the posts, dig a trench approximately one foot deep from one post to another and repeat this step along the entire length of the fence. Take the wooden frame with the mesh attached to it and place it in the trench. Make sure the fence extends underground deep enough to keep other animals out.
Building a standard chicken wire fence will take approximately one or two days. If you are building a garden fence, it should only take a few hours to complete. The length of time for installing your fence will depend on the length of the fence and whether or not you will need a trench. If you need to install a gate, allow for additional time for the steps required to install the gate.
You probably should get someone to help you stretch and secure the mesh to the next post. Take the poultry staples to secure the steel wire to the top, center, and bottom of the first post then stretch the mesh to the next post using the staples or hammering them in place. This step must be repeated throughout the entire fence.
After you have installed the chicken wire mesh to the posts or wooden frames, you need to trim off any excess wire using wire cutters to remove any sharp points that can harm you and provide you with a neat and polished look. If you have never created and installed a chicken fence, you might have a few questions.
To carry this step out, all you need is a heavy-duty stapler or hammer along with plenty of staples. You have to staple the wire mesh three times to each post then along the top and bottom if you are using wooden frames. Before starting this process, make sure you have calculated everything you will need for the fence before heading out to your home improvement center, like the Home Depot.
As with any project, plan ahead of time, take into consideration each step and what you need to complete the process. Be sure you have all the tools and materials you will need to get it done correctly. Creating and installing a chicken wire fence is not expensive and is very easy to install. Contact your local home garden center for more tips and tricks and follow their advice. If you are someone who likes DIY projects, this is for you.
Bookmark
Daniel Féau processes personal data in order to optimise communication with our sales leads, our future clients and our established clients.

This site is protected by reCAPTCHA and the Google Privacy Policy and Terms of Service apply.