


EUR
en
Use spray paint or string to measure and mark the length of the area where you’ll attach the netting.
Additionally, mark the post positions, spacing them about 2 – 2.5 meters apart.
For increased stability, reduce the distance between your fence posts.
Dig a hole for your posts, making sure the depth is approximately one-third of the post’s length.
Use a spirit level to ensure the posts are straight and verify that they are all the same height.
Mark the line location in multiple rows and wrap it around the first post 4-5 times.
Then, use a separate piece to attach a radisseur to the last post.
Weave the line through the radisseur’s middle hole and twist the pin clockwise with pliers.
Fasten the tensioning line to the middle posts with staples.
Attach the chicken wire to the wooden posts using staples spaced 15 cm apart.
Ensure the mesh remains straight and taut throughout the process.
Make sure to pull the mesh taut without overstretching it to maintain stability, as overstretching can weaken it and increase the risk of breaking under pressure.
Continue attaching the mesh by securing it to the remaining posts with staples.
Finally, check the netting and cut any excess wire as part of the process of how to build a chicken wire garden fence.
Additionally, dig a trench along the fence line, about 15-30 cm deep.
Place the bottom edge of the netting into the trench and secure it with pegs every 60 centimeters.
Use spray paint or string to measure and mark the area for your DIY chicken fence.
Also, mark the locations for the T posts, spacing them approximately 2 – 2.5 meters apart.
For better stability, you may want to reduce the spacing between the posts.
Install the T posts in the locations you marked in step 1.
Use a post driver or mallet to drive the end posts 50 cm into the ground.
Secure a length of string between the end posts and check their height with a tape measure.
Ensure the post holes face each other for alignment.
Use a spirit level to confirm the posts are straight and oriented consistently in the same direction at the same height.
Wrap the tensioning line around the hole of the first post and secure it by twisting the wire’s end with pliers.
Then, thread the line through the pre-drilled holes in the middle posts and fasten it at the last post by twisting it with pliers.
Finish installing the tensioning line in multiple rows by following the procedure outlined in the previous step.
Secure the mesh to the first post using cable ties threaded through the pre-drilled holes in the T post.
Ensure the mesh remains straight and taut during the process.
You can add more cable ties to completely encircle the post.
Continue attaching the netting to all the T posts until you reach the final end post, following the procedures outlined in steps 6 and 7.
If you installed a tensioning line, attach the mesh to it using cable ties, spacing them approximately 30-45 cm apart.
Then, inspect the netting and trim any excess wire.
Dig a trench along the fence line, approximately 15-30 cm deep.
Position the bottom edge of the netting into the trench and anchor it with pegs every 60 cm.
Finally, fill the trench with soil to deter animals from digging underneath.
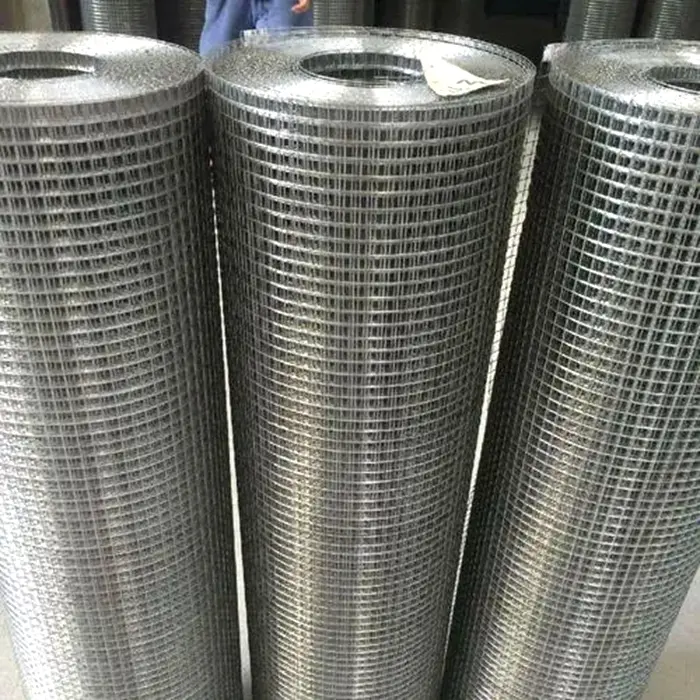
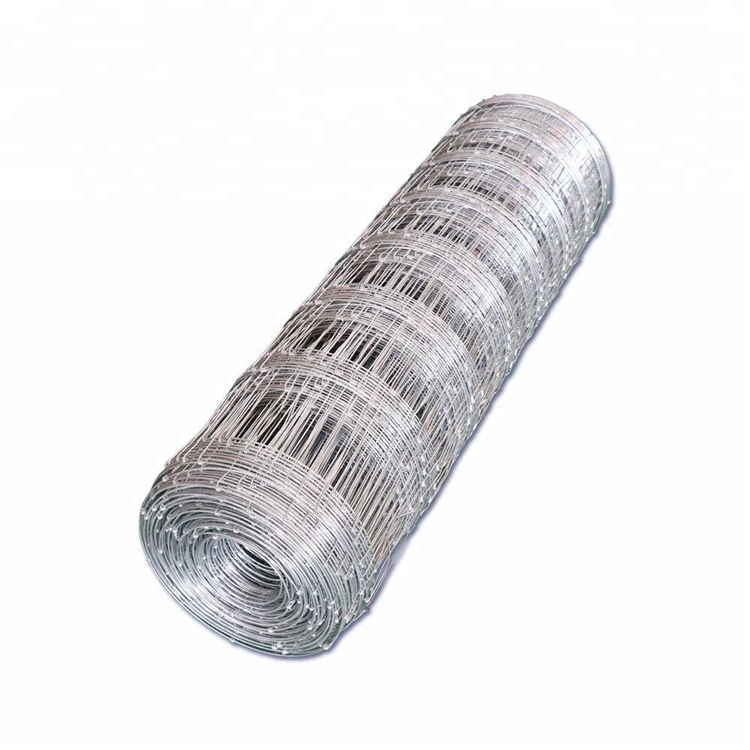
Galvanised steel is durable, rust-resistant, and easy to work with, making it ideal for long-term outdoor use.
For functional purposes like livestock fencing or security, galvanised steel is often preferred for its strength and cost-effectiveness.
PVC coating offers extra protection against rust, enhances weather resistance, extends the netting’s lifespan, and makes it safer to handle by reducing the risk of injury from sharp edges.
For decorative purposes or garden fencing where appearance matters, PVC-coated netting is a more visually appealing choice.
PVC-coated mesh, while still strong, may be slightly less robust than uncoated galvanised steel.
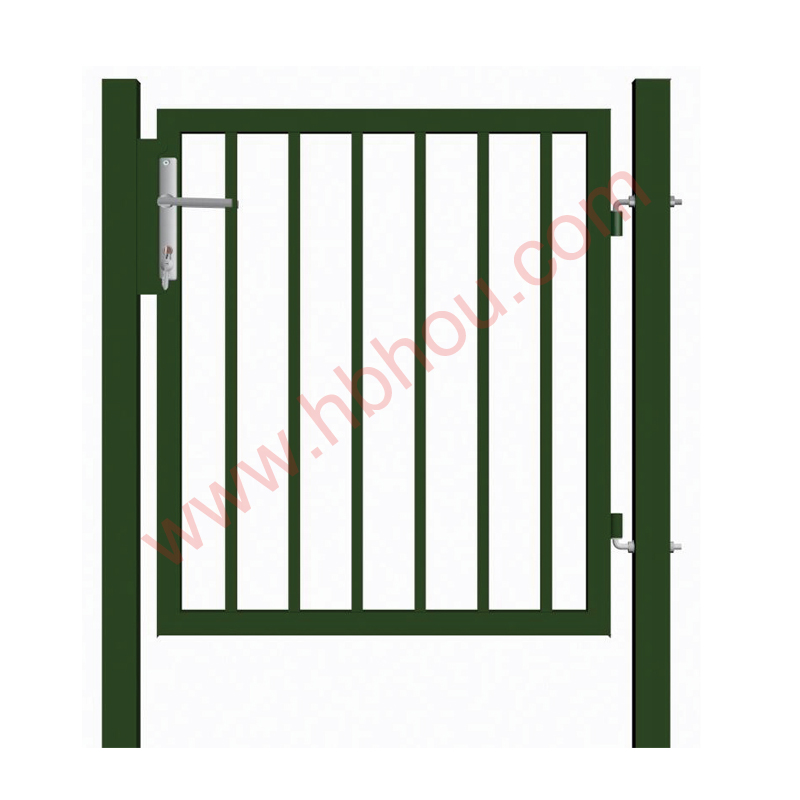
While considering options on how to build a chicken wire garden fence, keep in mind that T posts are easier to install, but wooden posts offer greater durability.
While putting chicken wire around a garden, make sure to pull the mesh taut but avoid overstretching, as this can weaken it and increase the risk of breaking under pressure.
Select the hole size based on your needs: for example, smaller holes for smaller animals and larger holes for bigger ones.
Bury the bottom edge of the mesh a few centimeters underground to prevent animals from digging underneath.
Bookmark
Daniel Féau processes personal data in order to optimise communication with our sales leads, our future clients and our established clients.
This site is protected by reCAPTCHA and the Google Privacy Policy and Terms of Service apply.