


EUR
en
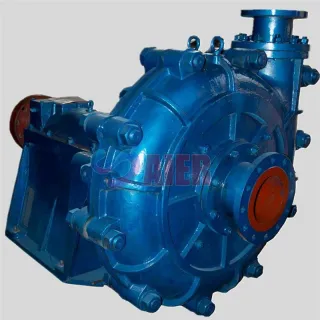
Properly mounting a pump is a necessity that is often overlooked or undervalued by plant operators. Unfortunately, it’s something we see far too often. Someone will buy the least expensive baseplate that’s available and place it on the floor with less-than-ideal footing and alignment. Before long, the pump is damaged or requires maintenance because bearings, couplings, and mechanical seals have worn out too quickly.
Unless it’s a small pump with low horsepower, a proper base is vital. A proper foundation should be three to five times the total mass of the pump, driver, and baseplate combined. Pumps with a positive displacement design (such as reciprocating pumps) may require an even larger foundation.
The purpose of a baseplate is to provide a sturdy and level surface on which to mount the pump and driver. This allows for more precise alignment, while also reducing vibrations created by the pump during operation. A proper foundation with machine grouting will keep the equipment running longer, while requiring less downtime for maintenance and repairs. The initial investment in the baseplate build and installation may be higher, but will lead to considerable savings over the life of the pump.
There are few prefabricated pump baseplates with an underside that’s properly prepared for grouting. A surface to which the ground can bond is key. This can be achieved with specialized epoxy paint or by sandblasting the underside. Most grout manufacturers offer specific recommendations on the proper underside preparation materials and procedures. Though cementitious grout was often used in the past, epoxy grouts are now more common as they yield better results in most cases.
For the best grouting results, first remove the pump and driver from the baseplate. However, make sure it can be realigned properly once reinstalled. It’s important to adequately cure the cement foundation and also remove any surface laitance and moisture before machine grouting the baseplate to the foundation.
The time it takes for the grout to fully cure varies. The ambient temperature plays a role. Keep all components out of direct sunlight, and never let it rain on the equipment during the grouting process. Continually check the baseplate levels during the curing process and make sure the grout is completely cured before installing any of the actual equipment.
Securely bolting the baseplate to the foundation is highly recommended. It is not necessarily done to secure the base to the foundation, but pulls everything together in one solid mass to make the entire foundation stronger. Be sure not to allow the grout come into direct contact with the anchor bolts. Use a protective sleeve or tube filled with sand to provide ample clearance.
Shims or jack screws can be helpful in setting the base and making sure everything stays completely level throughout the grouting process. However, it’s important to remove them after the process because they can corrode or cause other issues down the line. Once the shims or jack screws are removed, the voids can be filled with more grout or liquid epoxy.
There are two common types of pour methods for grout. The one-pour process takes more time to prepare but often works best for epoxy grouts. The two-pour method may be suitable in certain grouting scenarios.
Now that everything is fully prepared and aligned, the grout can be poured. Make sure it fills all appropriate spaces for a complete seal between the baseplate and foundation. It’s typically better to use more than you think you need. Excess spillage can be cleaned off.
With the baseplate sturdy, set, and level, the pump and driver can be installed. The pump and driver can then be adjusted and perfectly aligned for ideal performance. You’ll find that having a proper foundation will make a significant difference over time.
Our engineers understand the importance of proper machine grouting and other proven methods to get the most out of any pump.
Bookmark
Daniel Féau processes personal data in order to optimise communication with our sales leads, our future clients and our established clients.


This site is protected by reCAPTCHA and the Google Privacy Policy and Terms of Service apply.