


EUR
en
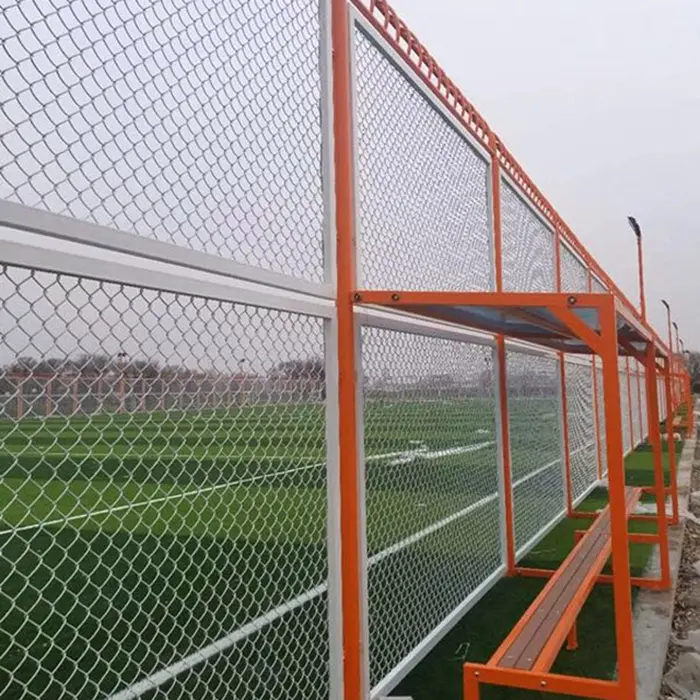
Careful planning is the key to a smooth chain link fence installation before any digging or stretching begins. This phase sets the foundation for everything that follows, from determining your fence's path to securing the proper permits.
The first step is to determine exactly where your fence should be placed. You can define your boundaries using property markers, maps, or a surveyor. This step is a must, as getting this wrong can result in having to move the fence later, especially if it crosses into a neighbor’s yard.
Before you begin installing a chain link fence, check your local ordinances. Depending on your city or HOA, you might need a permit or have to follow specific fence height rules or setback requirements.
Take time to measure your fence line. Use a tape measure and string line to outline the perimeter. Mark post locations every 8–10 feet along the string using spray paint or stakes. Clearly identify spots for corner posts, end posts, gate openings, and terminal posts. This layout will guide your digging and ensure even spacing.
Before you break ground, it is crucial to gather all the necessary tools and materials. Having everything on hand from the beginning will help your project flow smoothly and minimize frustrating delays.
Essential tools include:
Some materials you will need for this project are:
Installing a chain link fence may seem intimidating at first, but with the right tools, proper preparation, and a bit of patience, you can achieve a secure and professional-looking result on your own.
This section breaks down each phase of the installation process, from marking your layout to hanging the gate. Follow these steps carefully to ensure your fence is straight, tight, and long-lasting.
Start by outlining the fence line using stakes and string. Make sure your line is straight and flat. Mark post locations like line posts, corner posts, and gate posts. For example, if your fence runs 100 feet, you’ll need a post roughly every 8–10 feet.
Use a post-hole digger or auger to dig your holes. Terminal posts (corner, end, and gate posts) should be set deeper than line posts, about 30 inches deep and 8 inches wide. Line posts can be 24 inches deep and about 6 inches wide. Make sure to account for soil type: softer ground may need deeper holes.
Drop posts into the holes one by one. Use a post level to ensure each post is vertically straight. Adjust as needed before adding concrete. Mix and pour concrete into each hole, filling up to a few inches below ground level. Taper the top of the concrete away from the post to shed water. Let the posts cure for at least 24–48 hours before moving on. Check to ensure all posts are properly aligned with your string line and that they sit at the correct height above ground.
Once posts are set, attach post caps to the tops of the terminal and line posts. Slide the top rail through the loops in the post caps. Use a hacksaw or pipe cutter to trim the rail to the right length. Make sure rails fit tightly and are secure. This will help support the chain link fabric and keep the line straight.
Roll out the chain link fabric next to your fence line. Starting at an end post, insert a tension bar vertically through the first set of chain link loops. Add tension bands around the terminal post and attach the tension bar using bolts. Use a temporary tension band to hold the fabric in place as you work your way along the fence. Be sure to keep the fabric flat and untangled. If you run out of length, simply splice another roll using a stretcher bar and fence ties.
Use a fence puller or come-along attached to a stretcher bar to stretch the fabric tight. You want it snug, but not so tight that it distorts the diamond pattern. Once stretched, insert another tension bar at the final post and secure it with bands and bolts. Tie the fabric to the top rail and line posts using aluminum fence ties every 12–18 inches. Space the ties evenly to keep the fence taut and secure.
Tension wire helps reinforce the bottom of your fence, keeping it from sagging or being pushed out. Run it along the bottom edge of the fabric and loop it through the end post using wire clamps or bands. Pull it tight using a tension tool or pliers, then fasten securely.
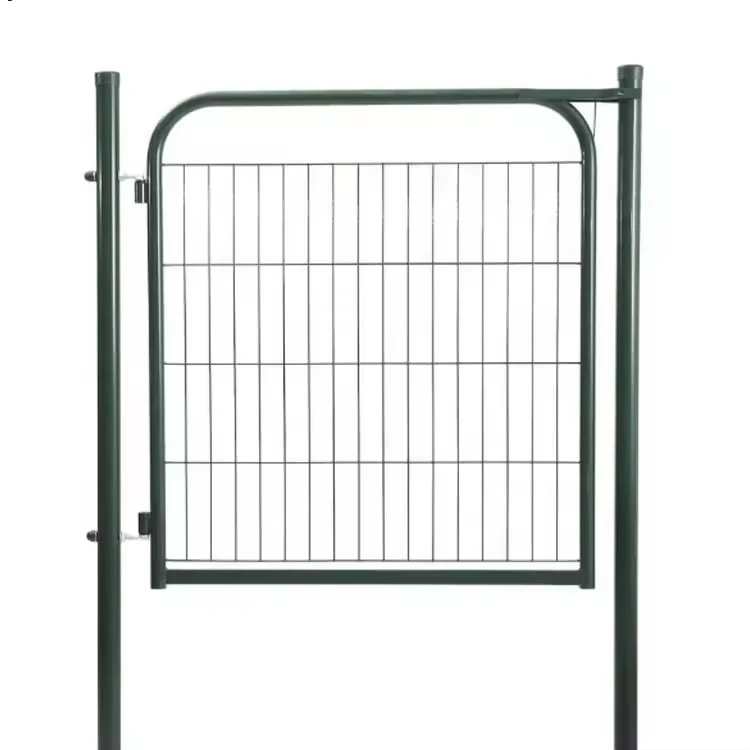
Position your gate posts and double-check spacing. Hang the gate by attaching hinges to the gate frame and terminal post. Install the latch hardware and test the gate to ensure smooth operation. Adjust as necessary to keep it level and aligned with the rest of the fence.
Regular maintenance is essential to keeping your chain link fence looking great and functioning well for years to come.
Start by walking the entire fence line every so often to check for issues like loose fence ties, sagging chain link fabric, or damaged posts that may have shifted over time.
Cleaning the fence is just as important. Hose off dirt, leaves, and debris that can collect along the wire and in crevices to help prevent rust and buildup.
Finally, do not wait for small problems to become big ones. Tighten any loose bolts, replace worn-out ties, and patch any torn chain link sections as soon as you spot them.
Use a post hole digger to dig a hole to the appropriate depth. Place the post inside, level it using a post level, and fill the hole with concrete. Let it sit for 24–48 hours to cure. This ensures a solid, stable base that will hold up over time and weather conditions.
Use a hacksaw or bolt cutters to snip through the chain link fabric. Be sure to wear gloves to avoid injury from sharp edges.
Insert a stretcher bar through the end of the fabric. Attach a come-along or fence puller and stretch the fabric until taut. Then, secure with a tension bar and tension bands. Proper stretching is key to a tight, professional-looking finish that prevents sagging or gaps.
Putting up a chain link fence need not be complicated. With the right tools, a clear plan, and a bit of elbow grease, anyone can tackle this project.
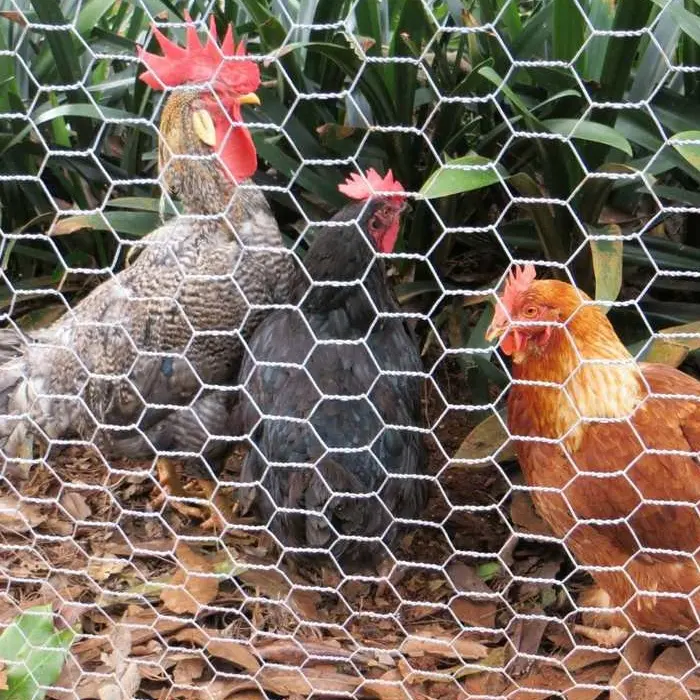
With a chain link fence installed, you can rest easy knowing you can protect your pets, secure your space, and increase the curb appeal of your property.
Bookmark
Daniel Féau processes personal data in order to optimise communication with our sales leads, our future clients and our established clients.


This site is protected by reCAPTCHA and the Google Privacy Policy and Terms of Service apply.