Chicken wire fences are not just for farms anymore, and installing a chicken wire fence as a DIY project is easier than you may think! Read on to learn more.
The chicken wire fence is an easy-to-assemble and affordable alternative to chain link fences that is perfect for backyards, gardens, or as a trellis! Because they are see-through, unlike wooden fences, they do not obstruct the view and can highlight your existing landscaping. Chicken wire fences, as you probably expect from the name, got their start on farms enclosing chicken coops. Now, they have become commonplace in urban settings as well as rural ones because of their versatility and ease as a DIY project!
There are relatively few tools and materials needed to install a chicken wire fence compared to other types of fences. That makes building a chicken wire fence the perfect DIY project to improve your curb appeal!
Tools
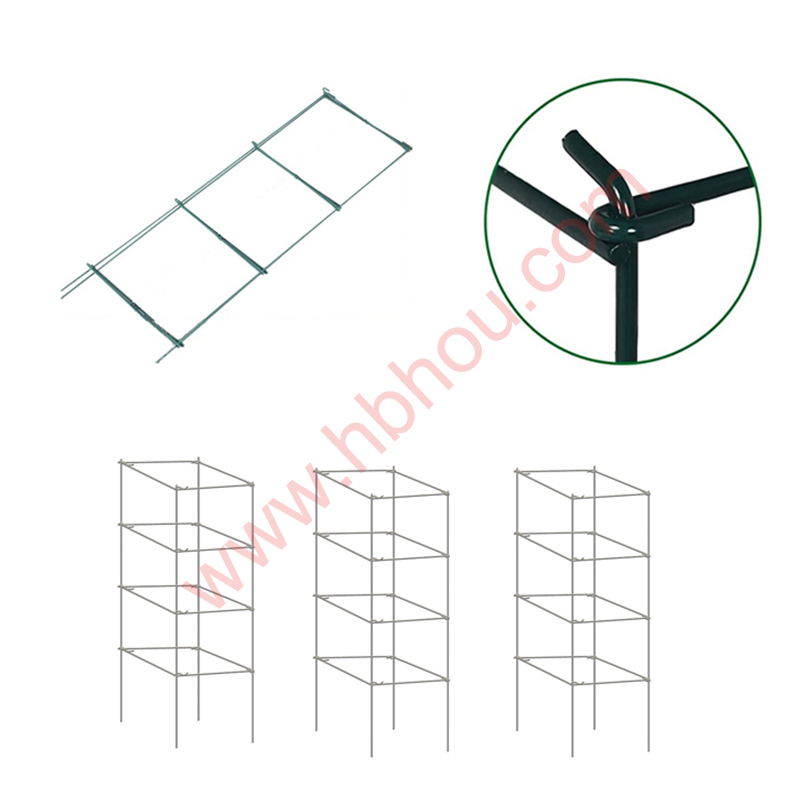
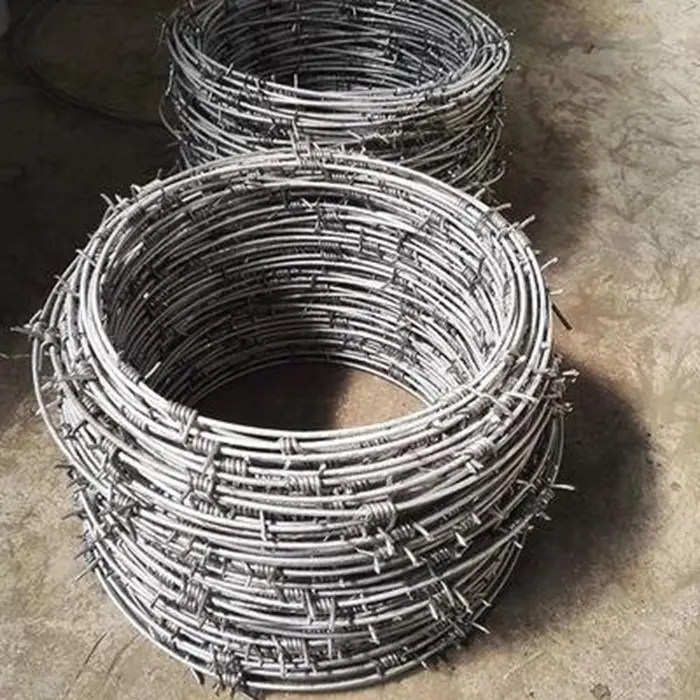
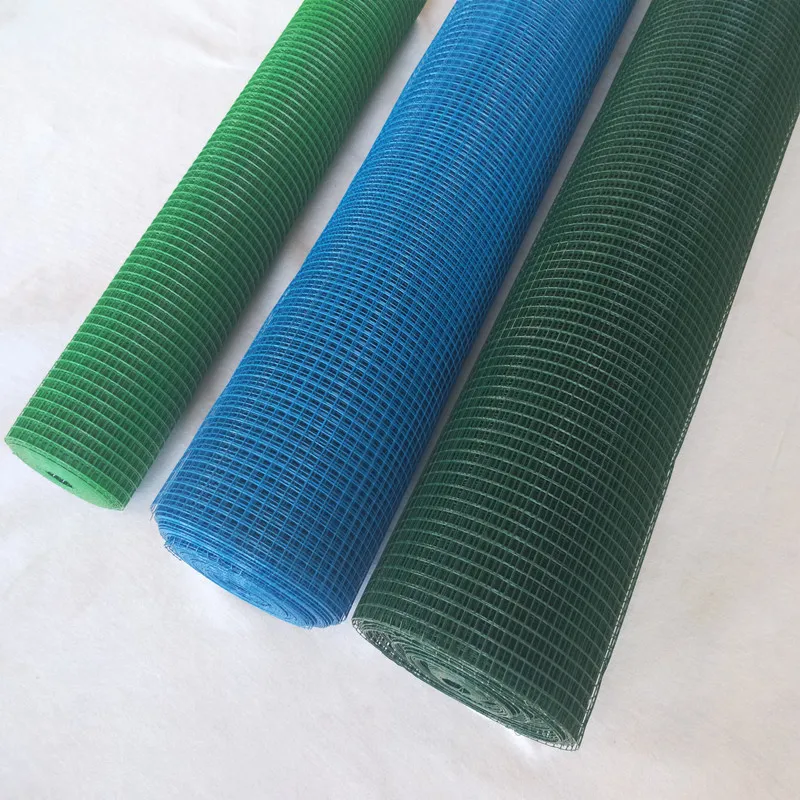
Post hole digger, Shovel, Sledgehammer (or post driver), Level, Heavy-duty stapler, Framing nails, Hammer, Wire cutters, Materials: Spray paint (or stakes and twine), T posts (or wooden posts), Framing lumber (2x3’s, 2x4’s, or 2x6’s cut to length), Chicken wire mesh, Poultry staples, Zip ties
Building a sturdy chicken wire fence doesn’t have to be intimidating. If you are doing it DIY style, just follow these detailed steps to ensure your fence installation stands up to weather, curious critters, and years of use.
1. Mark Your Fence Line
Begin by laying out your perimeter exactly where you want your garden fence or chicken run. Drive wooden stakes or T‑posts at each corner and at any gate location. You can follow these steps to make planning and marking your fence line easier: Spray paint:Snap a mason’s line between stakes and lightly spray along it—this guarantees a perfectly straight fence line. Measure twice: Walk the length, checking distances and right angles with a carpenter’s square or a simple 3‑4‑5 triangle. Gate placement:Position the gate where it’s easiest to access your vegetable garden or chicken coop, keeping in mind walkways and proximity to water sources.
2. Dig Holes for Your Fence Posts
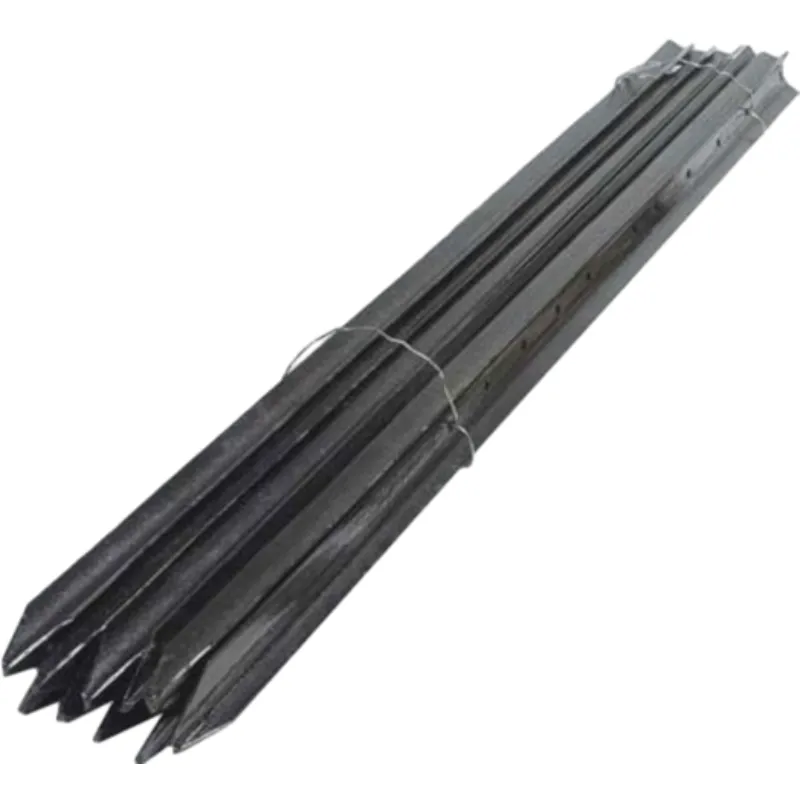
Properly set fence posts are the backbone of any fence. To set these posts, start by digging the post holes. For Wooden Fence Posts:If you are using wooden posts, use a post hole digger to create 1½–2 ft deep holes (below your local frost line) spaced 6–8 ft apart. The depth ensures your posts won’t heave in winter or loosen over time. Also, for wooden posts, place 2–3 in. of gravel at the bottom of each hole for drainage, then backfill with native soil, tamping firmly every 6 in. This prevents water pooling and wood rot. For Metal Posts: Metal T‑posts can be driven directly into the soil with a post driver or sledgehammer—no digging required. Space these at 6 ft centers for optimal support. No matter if you are using wooden posts or metal posts, after setting each post, use a level to make sure it’s perfectly vertical (plumb). A slight lean now will turn into a pronounced tilt later.
3. Install and Anchor Your Posts
With holes dug or T‑posts driven, it’s time to anchor them securely. For Wooden Posts:Position the post, pour in concrete (if desired), and brace with temporary stakes for 24–48 hours while it cures. Concrete adds longevity but isn’t strictly necessary if soil is firm. Once you anchor the posts and before attaching any wire, treat wood posts with a weather‑resistant stain or paint. A quick coat of spray paint can seal the end grain and add a coordinating color to your landscaping. For Metal T‑posts: Drive until only 4–6 in. of top post remains above ground. The ribbed design helps the mesh grip, reducing reliance on fasteners.
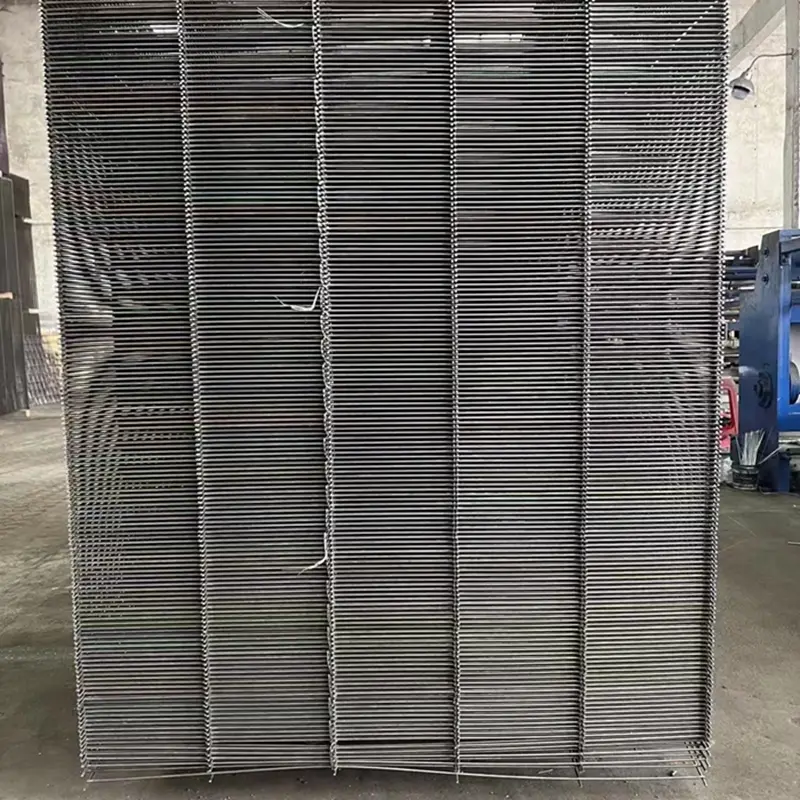
4. Roll Out and Secure the Chicken Wire
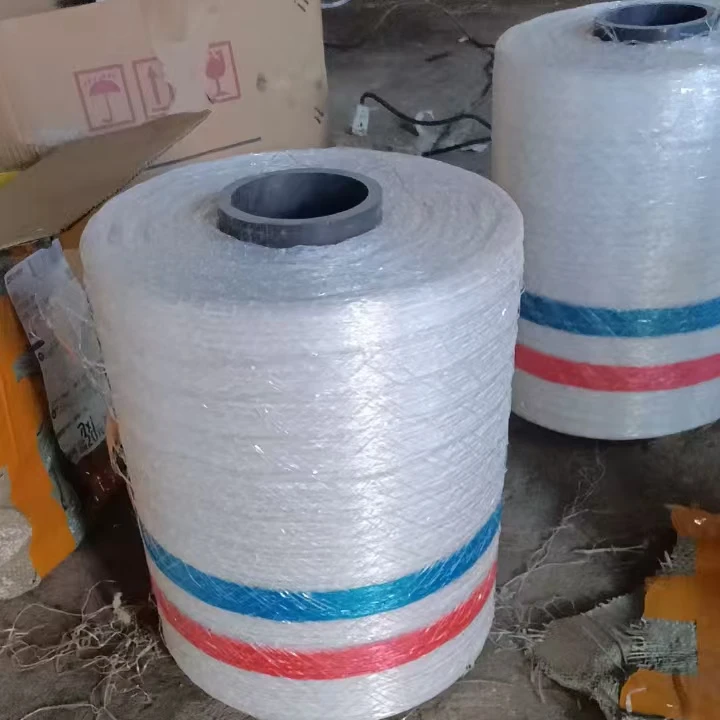
This step is where you may feel that your chicken wire fence is finally taking shape. And to do this properly, follow these steps: Unroll the mesh: Lay out your wire mesh or PVC‑coated chicken wire along the fence line. Starting point:At one end post, clamp or staple the mesh at the top corner using a staple gun with poultry staples, or wrap zip ties tightly around T‑posts. Tensioning:As you move to the next post, pull the mesh taut—use a come‑along or a helper to keep even tension. This prevents sagging between supports. Fastening:Secure the mesh at 12–18 in. intervals vertically, working from top to bottom. For extra strength, install a horizontal wire or rail at midway height to tie into.
5. Bury or Brace the Bottom Edge
If you are planning on enclosing chickens or other animals that might make raccoons, rabbits, or other small animals dig up the bottom of the fence, it is important to secure this spot as well. If you want to build this trench, make sure you follow the steps mentioned below in parallel with step 4 to make it easier to install the fence: Bury: Dig a shallow trench (4–6 in. deep), tuck the bottom edge of the mesh into it, and then add backfill. L‑shape barrier: Alternatively, bend the lower 6–8 in. of wire outward at a right angle, forming an “L” that discourages burrowing. Extra staples: Reinforce this section with additional poultry staples or zip ties every 8–12 in. for a tight seal.
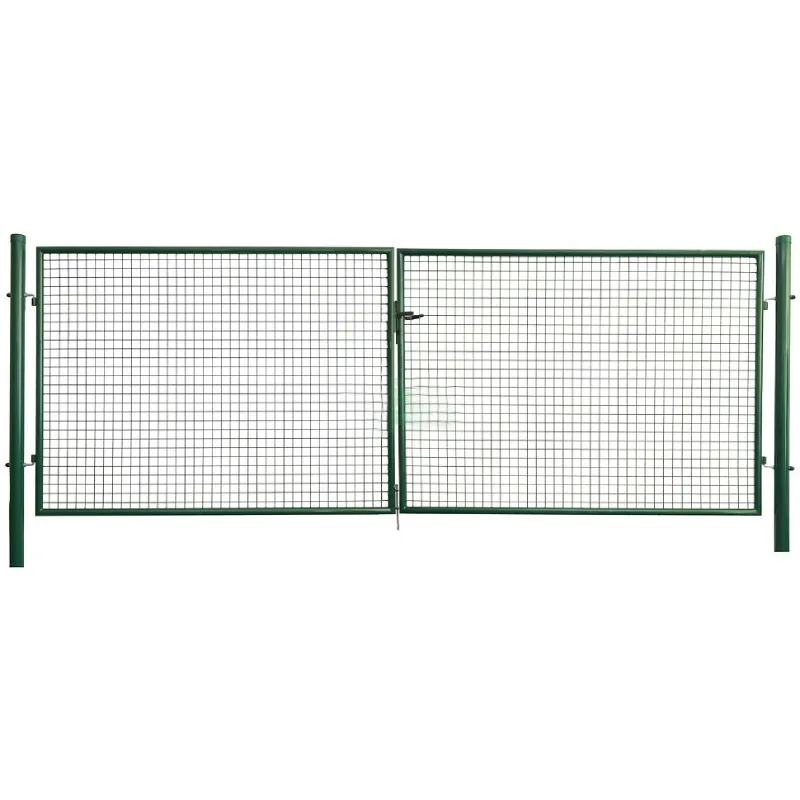
6. Install the Fence Gate
A functional gate makes maintenance of a chicken wire fence and everything in it a breeze. If your fence design has a gate in it, this is the time to install it. You can purchase a ready‑to‑hang fence gate from Home Depot or build one from wooden posts and leftover chain link fence or welded wire fence panels. Ensure the gate swings freely without rubbing the ground; you may need to trim the bottom edge or adjust hinge spacing.
7. Final Inspection and Reinforcement
All your hard work has come to an end. Your fence is up—now make sure it stays that way: Walk the perimeter: Look for loose mesh, gaps at corners, and sagging sections. Add reinforcements: In high‑stress areas (near feeders or roosts), tack on a length of hogwire or welded wire fence for extra durability. Routine checks: Seasonally inspect for rusted staples or corroded wire. Replace any worn fasteners promptly to prevent breaches.
Installing a chicken wire fence is one of the most cost-effective and practical ways to protect your property, whether you're guarding a vegetable garden, building a chicken run, or keeping out pesky critters. Here are some standout benefits that make chicken wire fencing a favorite for DIYers and homesteaders alike:
1. Affordable and Budget-Friendly
Chicken fence is significantly cheaper than many other types of fencing, like wood or vinyl. It’s widely available at places like Home Depot or Amazon, and because of its lightweight nature, you won’t need expensive tools or heavy-duty equipment for fence installation.
2. Easy to Install
Perfect for any DIY project, chicken wire fence is flexible, easy to cut with wire cutters, and simple to secure using a staple gun, poultry staples, or zip ties. Whether you're attaching it to wooden posts, t-posts, or even a chain link fence, the process is straightforward, even for beginners.
3. Versatile for Various Uses
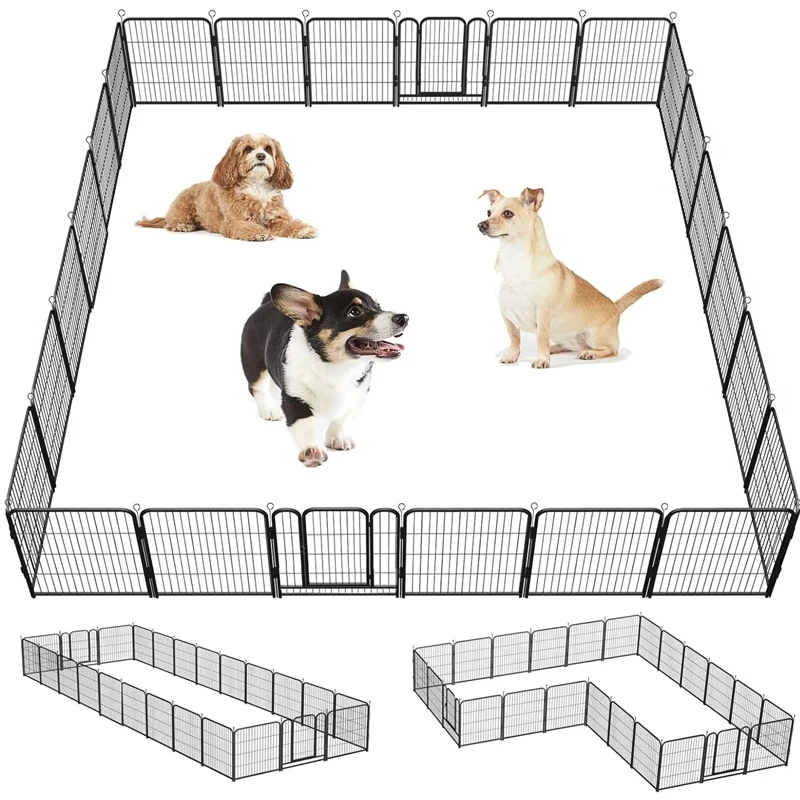
From enclosing a chicken coop or chicken run to protecting your landscaping or garden fence, chicken fences are a versatile solution. They are effective at keeping out small animals like rabbits, squirrels, and raccoons, while also keeping your chickens or pets safely contained.
4. Lightweight but Durable
Though it’s lightweight, PVC-coated or galvanized chicken wire holds up well against weather and general wear. For added durability, you can pair it with welded wire fence or hogwire in high-traffic areas.
5. Customizable and Expandable
Whether you need a small enclosure or a full perimeter fence, chicken wire adapts easily to different layouts. You can cut it to size with pliers, secure it to various posts, and even combine it with other materials for a more polished look.
6. Minimal Maintenance
A well-installed chicken wire fence requires little upkeep. Just inspect it seasonally for any sagging, rust, or breaches along the bottom edge, especially if you're using it to keep out digging critters.
Although this is a fairly simple project compared to installing other types of fences, if you have never built any type of fence before it can be a little daunting. Let’s go over some common questions that come up while planning your DIY project to install a chicken wire fence.
How to secure chicken wire to posts?
The process of securing chicken wire to posts is actually quite simple! And you only need one tool - either a heavy duty stapler or a hammer - and the correct quantity of poultry staples. You will need to staple the chicken wire mesh three times along each post section, and then along the top and bottom (if applicable) wooden frames. So be sure to do some calculations ahead of time so that when you go to your local home improvement store, like Home Depot, or online at Amazon, you have a general idea of how many staples you will need. Keep in mind that you can use zip ties to temporarily attach the wire mesh to the posts if you need to before getting to the staples.
How deep should you bury chicken wire?
If you are building a chicken wire fence to actually house chickens - instead of building it for your backyard to keep small children or pets inside or as a garden fence - then extending the fence underground is important. Animals that eat chickens will try to dig underneath the fence to get into the chicken pen. After you plan out the path of your fence, and install your fence posts, you will need to dig a trench about one foot deep from one post to the next. Repeat this process for the entire length of your fence. Next you insert the wooden frame that will have the chicken wire mesh attached to it into the trench. That way, the fence extends underground and animals cannot get through.
How long does it take to build a chicken wire fence?
If you are building an average sized chicken wire fence, this project can be completed in a day or two. If it is a small garden fence, you may actually be able to install it in a matter of hours. Some factors that affect the length of time you need to build the fence include the desired length of fence and whether or not you need to dig a trench along the path of the fence to keep out critters or not. If you also need to install a fence gate, plan for additional time on this as it has its own separate set of steps to complete.
What is Chicken Wire?
Chicken wire refers to the galvanized steel wire strands that are used to create the mesh fence that traditionally surrounds a chicken coop. They are typically found in rural settings as a farm fence or surrounding chicken runs and are used to keep small animals like chickens in their pens. They are also effective at keeping out predators. However, chicken wire fences have also started becoming trendy in other settings far from farms. Chicken wire fences can be used as a backyard fence, a garden fence, or a dog fence. They have a similar look to a hog wire fence, and are a trendy and affordable alternative to chain link fences.